Mastering Homemade Boba: The 30 & 30 Method for Perfect Tapioca Pearls
Craving the delightful chew of authentic homemade boba tapioca pearls in your favorite bubble milk tea? While enjoying a store-bought bubble tea is always a treat, the satisfaction and cost-effectiveness of preparing these sweet, translucent spheres at home are unmatched, especially when serving a group of friends or family. Learning to cook tapioca pearls might seem daunting at first, but with the right technique, you can achieve that perfect bouncy texture every time. This article will guide you through the incredibly reliable "30 & 30 method," your secret weapon for consistently perfect homemade boba.
The Allure of Homemade Boba Tapioca Pearls
Tapioca pearls, affectionately known as boba, are much more than just a chewy addition; they are the heart of any good bubble tea. Derived from the starch of the cassava plant, these small, often dark, or sometimes white, spheres transform an ordinary drink into an exciting textural adventure. When properly cooked, they offer a slightly sweet, satisfyingly chewy bite that complements a wide array of tea and milk bases. While many brands of dried tapioca pearls come with their own instructions, these can sometimes be vague or lead to inconsistent results. This is where a standardized, adaptable method becomes invaluable.
Making boba at home not only gives you control over the quality and freshness of your ingredients but also allows for endless customization. You can adjust the sweetness, experiment with different teas, and create unique flavor combinations far beyond what you might find at a typical boba shop. The journey from a bag of dried pearls to a delicious cup of DIY Bubble Tea: Craft Refreshing Boba Milk Tea at Home with Ease is surprisingly simple and incredibly rewarding.
The 30 & 30 Method: Your Blueprint for Chewy Perfection
The "30 & 30 method" is a widely trusted technique for cooking tapioca pearls that don't come with specific instructions or when you're experimenting with an unfamiliar brand. It's a robust starting point that accounts for variations in pearl size, starch content, and density across different brands. The name itself reveals the core of the method: 30 minutes of active cooking followed by 30 minutes of passive resting. This two-stage process ensures the pearls cook evenly through to the center while developing that signature chewy consistency without becoming mushy.
Here’s a step-by-step guide to executing the 30 & 30 method:
- Prepare Your Water: For every ½ cup of dried tapioca pearls (which yields about 1 cup of cooked boba), bring approximately 10 cups of water to a rolling boil in a large pot. Using ample water prevents the pearls from sticking together and allows them to cook freely.
- Add the Pearls (Carefully!): Once the water is at a vigorous boil, gently add your dried tapioca pearls. Important: Do NOT rinse the boba before cooking, as this can cause them to disintegrate. Stir gently to prevent sticking.
- Float to the Top: Within about 30 seconds, the boba pearls should float to the surface. This indicates they've begun to hydrate and are ready for the next stage of cooking.
- Simmer Uncovered: Once all the boba are floating, reduce the heat to medium to maintain a steady simmer. Continue to cook the pearls, uncovered, for 30 minutes. Stir occasionally to ensure even cooking and prevent sticking to the bottom of the pot.
- The Resting Phase: After 30 minutes of simmering, remove the pot from the stove. Cover it tightly with a lid and let the pearls rest for an additional 30 minutes. This crucial resting period allows the heat to continue cooking the pearls gently, ensuring the centers are thoroughly cooked and achieving optimal chewiness.
- Rinse and Refresh: Strain the cooked boba using a fine-mesh sieve. Immediately run them under cold water to remove excess starch. This step also stops the cooking process and helps maintain their distinct, chewy texture.
- Taste Test and Adjust: Take a pearl and taste it. It should be chewy throughout, with no hard or powdery center. If you find the center is still too firm, you can repeat the 30 & 30 method again, or simply continue simmering for an additional 10-15 minutes followed by a shorter rest, until the desired texture is achieved. If they are too soft for your liking, remember to reduce cooking or resting time slightly for your next batch.
Expert Tip: The resting period is not just about passive cooking; it's also about allowing the starch to properly gelatinize and the pearls to absorb moisture evenly. Rinsing them immediately in cold water helps "set" the outer layer, preventing them from becoming overly sticky or mushy.
Optimizing Your Homemade Boba Experience: Tips for Success
- Know Your Boba Brand: While the 30 & 30 method is fantastic, always prioritize the instructions on your boba package first. Brands like WuFuYuan or E-Fa often sell "quick-cooking" boba that cook in as little as 5 minutes, requiring a different approach. If your bag doesn't specify or you're unsure, default to the 30 & 30 method. For more on this, check out our guide on Quick Cook Boba or Not? Your Guide to Chewy Tapioca Pearls.
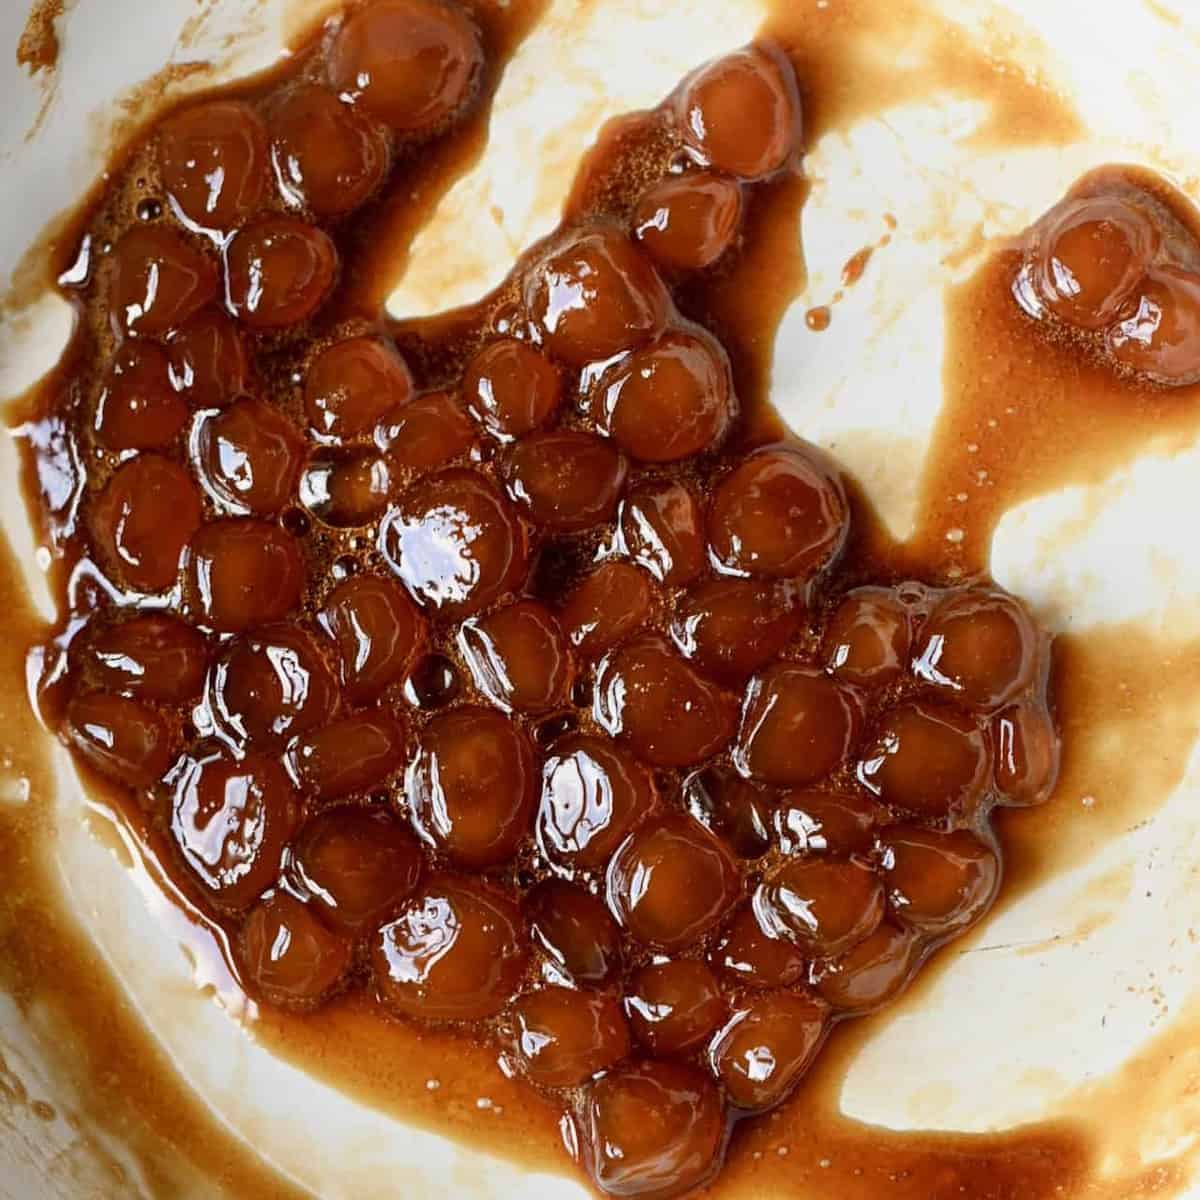
- Sweeten for Flavor: Cooked boba are naturally quite bland. For added deliciousness, after straining and rinsing, you can optionally transfer the pearls to a small bowl and toss them with a few tablespoons of dark brown sugar, honey, or a simple syrup. Let them sit for at least 10 minutes, or longer if you prefer them sweeter, to absorb the flavor. This also helps keep them from sticking.
- Freshness is Key: Cooked tapioca pearls are best enjoyed fresh, ideally within a few hours of cooking. The longer they sit in liquid (especially in tea or milk), the softer they will become, eventually losing their chewiness and disintegrating. For optimal texture, aim to consume them the same day you cook them.
- Customize Your Sweetener: Beyond brown sugar and honey, consider infusing your boba with maple syrup, agave, or even a flavored simple syrup (vanilla, ginger, etc.) for a unique twist.
- Pairing Perfection: Once your perfect homemade boba tapioca pearls are ready, the sky's the limit for your bubble milk tea creation. Classic black tea with milk is always a winner, but don't hesitate to explore options like jasmine green tea, oolong tea, matcha, or even fruit-flavored teas. Plant-based milks like almond, oat, or soy also make fantastic alternatives.
Beyond the Pearls: Crafting Your Own Bubble Milk Tea
Mastering the pearls is the biggest hurdle in creating an authentic homemade bubble tea. Once you've got that down, the rest is truly simple. The term "bubble tea" itself is believed to come either from the frothy "bubbles" created when the milk and tea are shaken, or from the chewy tapioca pearls themselves, resembling delightful "bubbles" at the bottom of your cup. Whether you prefer a robust Hong Kong-style boba milk tea or a lighter fruit tea, the foundation of a great drink starts with perfectly cooked tapioca pearls.
Conclusion
Embarking on the journey to create homemade boba tapioca pearls is a rewarding culinary adventure. With the "30 & 30 method," you now possess a reliable, adaptable technique to achieve that coveted chewy texture every time. Say goodbye to inconsistent results and hello to perfectly prepared pearls, ready to elevate your next glass of bubble milk tea. So, grab your dried tapioca pearls, follow these steps, and prepare to impress your taste buds and those of your loved ones with delicious, custom-made bubble tea right in your own kitchen.
